If your stainless steel cable mesh seems too small during installation, it is usually not because the product itself is undersized, but rather because the installation method is incorrect. During transport and storage, the mesh naturally contracts; it must be properly stretched to reach its designed dimensions.
Follow these steps to diagnose and resolve the issue:
First, determine whether the mesh is truly undersized or simply not stretched correctly:
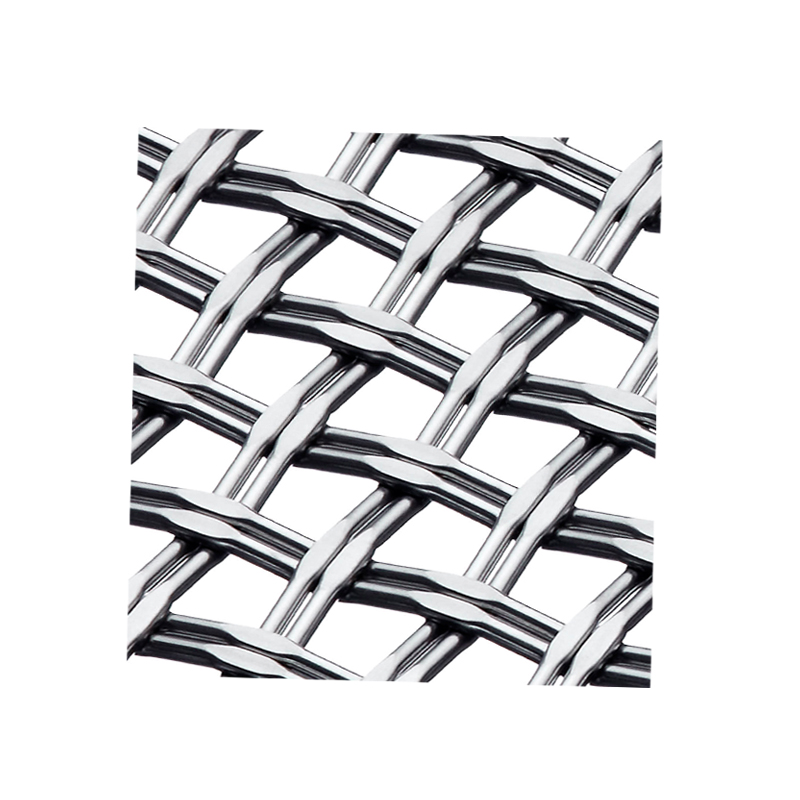
1. Check the mesh angle: The dimensions of stainless steel cable mesh are measured when each mesh opening is stretched to a 90-degree angle. If the openings remain acute angles or irregular shapes, the mesh has not been fully expanded, causing it to appear "shrunken."
2. Verify the orientation: The mesh has a specific horizontal (width) and vertical (height) orientation. Due to manufacturing constraints, the vertical dimension is typically limited. If the mesh is installed in the wrong orientation, the dimensions will not match the requirements.
3. Check the anchor points: Confirm that the dimensions of your mounting points or frame match the specifications of the mesh you ordered.
If the issue is simply improper stretching, follow these five steps:
1. Initial positioning: Use cable ties or clips to loosely secure the four corners and the top and bottom edges of the mesh to the supporting structure. Do not pull them too tight initially; leave room for adjustments.
2. Uniform tensioning: This is the most critical step. Gradually and evenly stretch the mesh outward from the center, adjusting each opening until it approaches the standard 90-degree angle.
3. Temporary securing: As you stretch the mesh, use cable ties to temporarily secure it—approximately every 30 cm along the top and bottom edges, and every 10 cm along the left and right edges.
4. Final adjustment and fastening: Ensure the mesh surface is flat and even. Once verified, permanently lock all connection points using stainless steel clips or wire rope.
5. Final inspection: Trim any excess cable ties or wire rope ends, and ensure there are no sharp, exposed edges. If the mesh remains too small even after stretching, you can try the following remedies:
1. Add connecting components: Use wire ropes or metal rings (clips) as a "bridge" to connect the edges of the mesh to the supporting structure.
2. Splice the mesh: If the entire piece is significantly undersized, you can use a similar method to attach an additional section of mesh.
3. Adjust the supporting structure: If site conditions permit, make minor adjustments to the position of the mounting brackets to accommodate the dimensions of the mesh.
Addressing Significant Discrepancies and Prevention
If the above methods are ineffective and the size deviation is substantial (e.g., exceeding the standard tolerance of ±20mm), the issue may lie with the product itself. Recommended steps:
1. Contact the supplier: Take photos and measurements, then send them to the manufacturer to verify whether the wrong item was shipped or if there is a quality issue.
2. Utilize after-sales service: If the dimensions are indeed incorrect, you may request a return or exchange in accordance with the relevant policies.
To prevent similar issues in the future:
1. Include a margin when ordering: When placing your order, request that an appropriate margin be added to the calculated dimensions.
2. Clarify the installation state: Confirm with the manufacturer whether the dimensions you are ordering refer to the "naturally contracted state" or the "standard state after stretching."
3. Communicate in advance: Before purchasing, inform the manufacturer about the installation environment and the intended mounting method so they can provide professional advice.
If the problem persists after attempting these solutions, the most reliable course of action is to contact the manufacturer directly for technical support.