For reasons of safety and practicality, modern guardrails are typically made of stainless steel. Because they are stainless, they remain looking brand new for a long time without the need for regular cleaning or maintenance, thereby saving on unnecessary labor.
Thanks to advanced manufacturing techniques, most of these guardrails are also highly aesthetically pleasing.
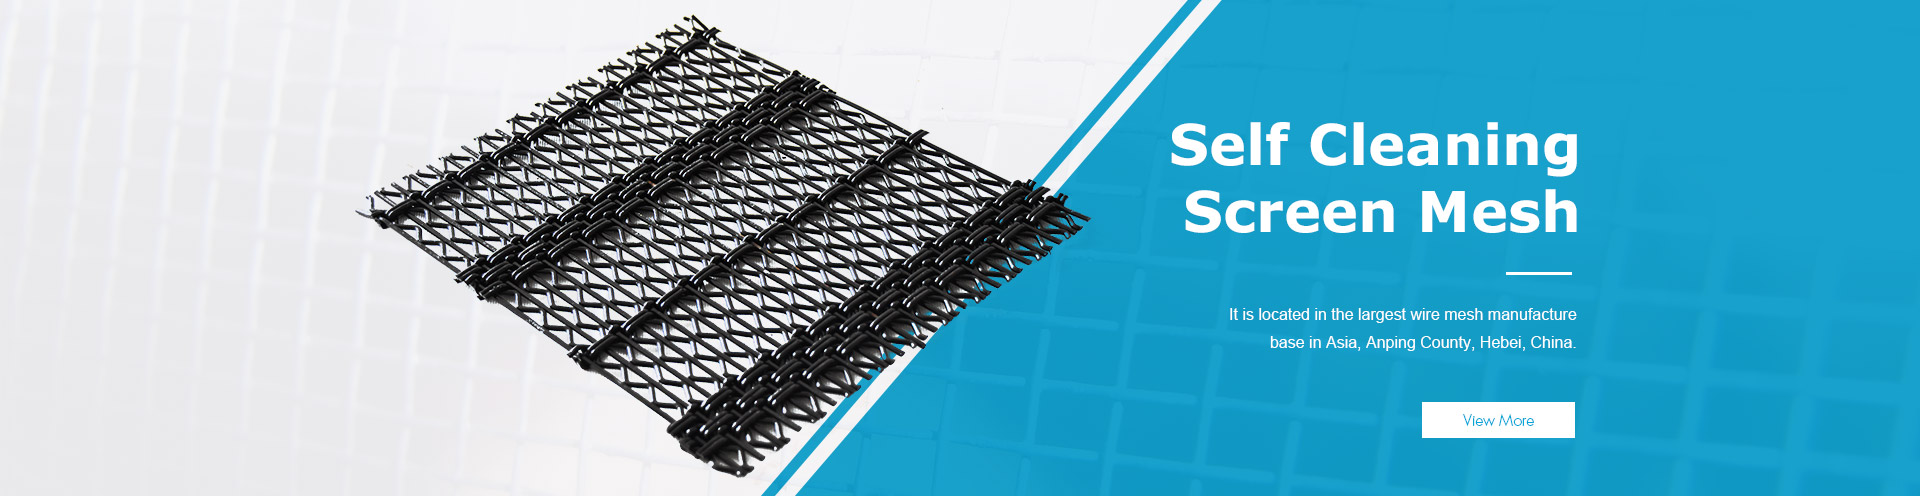
Depending on the target consumer group and the intended location, guardrails come in various types—such as galvanized steel, aluminum alloy, stainless steel, and PVC. These materials are not only more attractive and diverse than the traditional wrought-iron railings used in the past, but they also offer significantly higher quality. They are wear-resistant, rust-proof, and corrosion-resistant, and they even possess self-cleaning properties. It is fair to say that these guardrails not only enhance the beauty of our cities but also provide essential safety for people on the move.
What are the installation steps for guardrail fencing?
1. Layout and Measurement: Conduct a site layout based on design blueprints, the actual terrain, and existing ground features. Determine the centerlines for the posts and install the guardrails according to the specified gradients and alignment.
2. Ground Preparation: Preparing the original ground surface is a crucial prerequisite for a smooth installation and the overall structural integrity of the fencing. Before embedding the posts, any weak soil layers in the foundation must be replaced and compacted to ensure the posts remain secure. Posts are installed in sections; when viewed longitudinally, their axes should form a straight line without any irregularities. From an elevated perspective, the tops of the posts should appear uniform and level, barring any specific terrain-related exceptions.
3. Excavation and Foundation: Following the layout and measurements, establish reference lines (often marked with white lines). Excavate the ground, position the posts—adjusting for any required slope—and then compact the foundation material. Ensure the posts are installed exactly at the designated layout positions, paying close attention to the required dimensions of the foundation pits.
4. Post Installation: During the installation of the posts, it is essential to ensure their stability and guarantee a tight, secure connection between the posts and their foundations. During installation, use a thin string to check the straightness of the posts, then make localized adjustments to ensure that the straight sections are perfectly aligned and the curved sections are sufficiently smooth. Most importantly, the posts must be installed in strict accordance with the design drawings.
5. The mesh panels must be securely attached to the posts, and the mesh surface should be installed evenly, without any noticeable warping or irregularities.
6. Once the posts have been temporarily secured and installed, attach the infill panels. After verifying that everything is correctly and firmly in place, pour the concrete for the foundations and ensure proper curing.
These are the installation steps for a protective fence. Do you now know how to install one?